
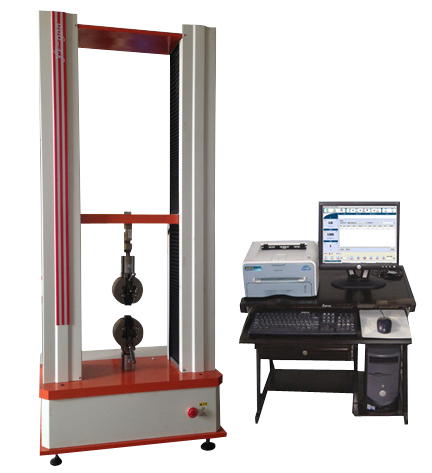
金屬材料拉伸、剪切、粘合力試驗機 可對橡膠、塑料、塑膠、無紡布、紡織、尼龍、纖維、納米材料、高分子材料、復合材料、包裝帶、紙張、電線電纜、光纖光纜、安全帶、保險帶、皮革皮帶、鞋類、膠帶、聚合物、彈簧鋼、軸承鋼、不銹鋼(及其它高硬度鋼)、鑄件、鋼板、鋼帶、有色金屬、汽車零部件、合金材料及其它非金屬材料和金屬材料進行拉伸、壓縮、彎曲、撕裂、90?剝離、180?剝離、剪切、粘合力、拔出力、延伸伸長率等試驗。
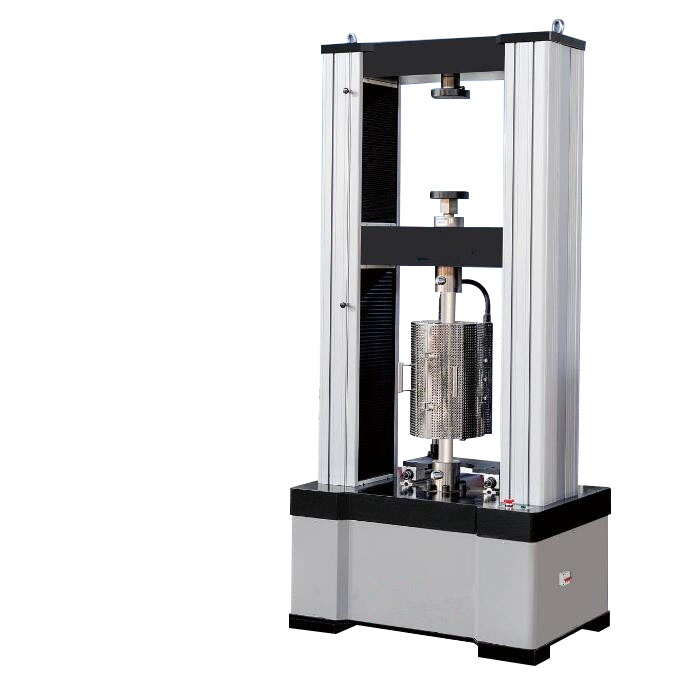
金屬材料拉伸、剪切、粘合力試驗機 主要技術指標:
序號 | 項目 | 參數(shù) |
1 | 最大試驗力 | 0-300KN |
2 | 準確度等級 | 1級 |
3 | 試驗力示值允許誤差極限 | 示值的?1%以內 |
4 | 負荷測量范圍 | 滿量程的2%~100%FS |
5 | 試驗力示值分辨率 | 最大試驗力的1/200000 |
6 | 變形測量范圍 | 2-100%FS |
7 | 變形示值誤差極限 | 示值的?0.5%以內 |
8 | 變形分辨力 | 最大變形量的1/200000 |
9 | 位移示值極限誤差 | 示值的?0.5%以內 |
10 | 位移分辨率 | 0.01mm |
11 | 恒位移控制調節(jié)精度 | 速率<0.1%FS時,為?2%設定值以內;速率>0.1%FS時,為?0.5%/?1%設定值以內 |
12 | 位移速度調節(jié)范圍 | 0.05-300mm/min |
13 | 位移速率控制精度 | 速率<1mm/min時,設定值的?1%以內,速率≥1mm/min時,設定值的?0.5%以內 |
14 | 有效拉伸空間距離 | 700mm |
15 | 設備主機外形尺寸 | 長?寬?高=850?650?1900(mm) |
16 | 軟件及用戶界面 | WINDOWSXP操作環(huán)境下的軟件和交互式人機對話操作界面 |
17 | 電源、功率 | 220V,50Hz、1000W |
18 | 重量 | 150KG |
組成
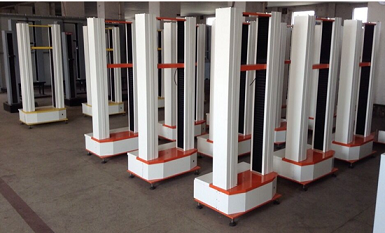
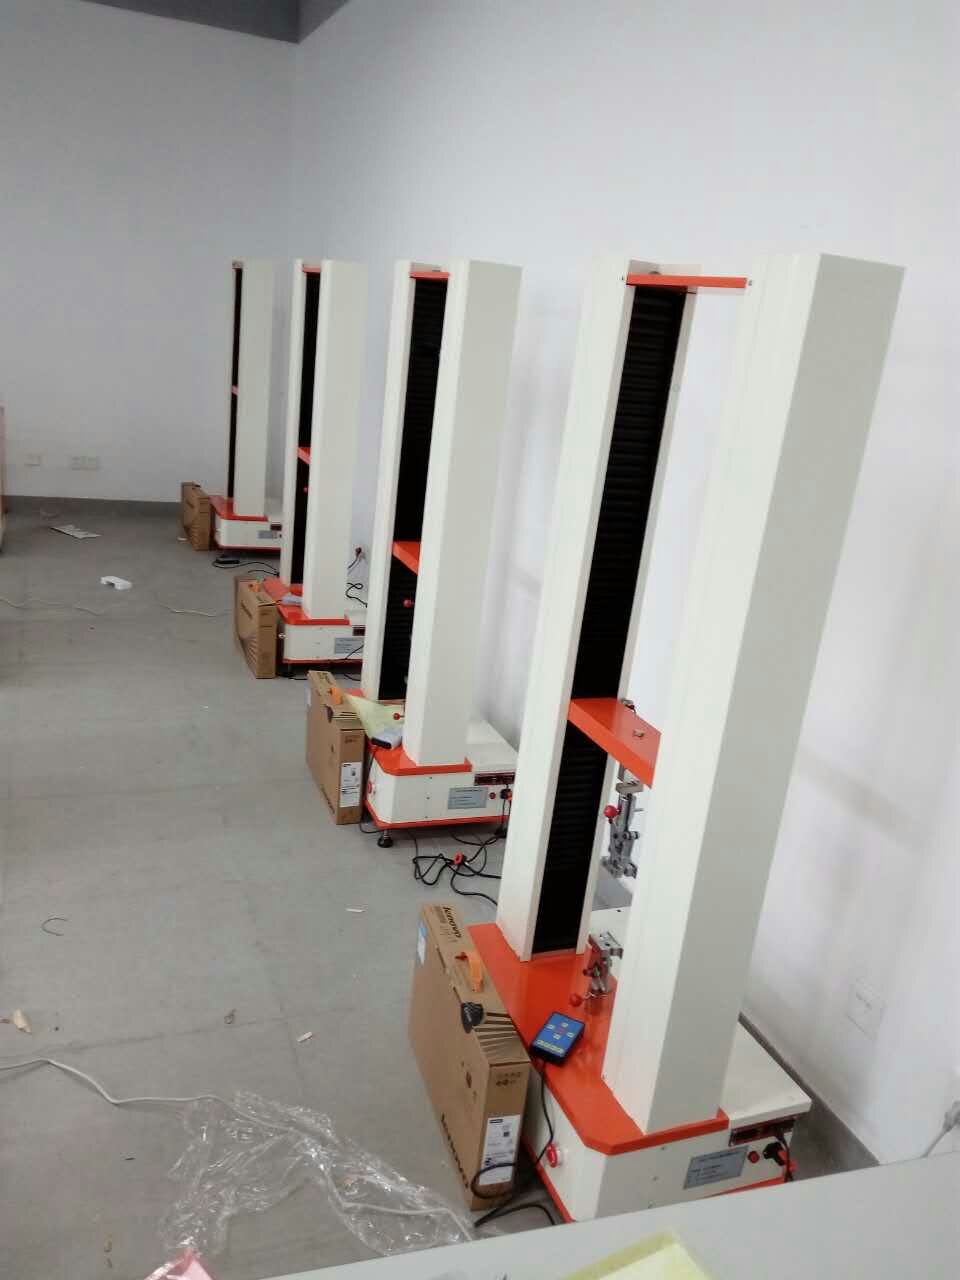
萬能材料試驗機是由測量系統(tǒng)、驅動系統(tǒng)、控制系統(tǒng)及電腦(電腦系統(tǒng)型拉力試驗機)等結構組成。
一.測量系統(tǒng)
1. 力值的測量
2. 變形的測量
3. 橫粱位移的測量
驅動系統(tǒng)
主要是用于試驗機的橫梁移動,其工作原理是由伺服系統(tǒng)控制電機,電機經過減速箱等一系列傳動機構帶動絲桿轉動,從而達到控制橫梁移動的目的。通過改變電機的轉速,可以改變橫梁的移動速度。
三.控制系統(tǒng)
顧名思義,就是控制試驗機運作的系統(tǒng),人們通過操作臺可以控制試驗機的運作,通過顯示屏可以獲知試驗機的狀態(tài)及各項試驗參數(shù),若該機帶有電腦的話,也可以由電腦實現(xiàn)各項功能并進行數(shù)據(jù)處理分析、試驗結果打印。試驗機同電腦之間的通信一般都是使用RS232串行通信方式,它通過計算機背后的串口(COM號)進行通信,此技術比較成熟、可靠,使用方便。
四.電腦
用來采集和分析數(shù)據(jù),進入試驗界面后,電腦會不斷采集各樣試驗數(shù)據(jù),實時畫出試驗曲線,自動求出各試驗參數(shù)及輸出報表。
設備特點
1、采用高精度、全數(shù)字調速系統(tǒng)及精密減速系統(tǒng),驅動精密絲杠副進行試驗,實現(xiàn)試驗速度的大范圍調節(jié),試驗過程噪音低、運行平穩(wěn)。
2、可選用萬向節(jié)十字插銷結構,一方面便于試樣夾持,保證試驗同心度,另一方面很好的消除了不規(guī)則試樣對傳感器的影響。
3、Windows操作系統(tǒng),人性化操作界面,可顯示試驗方法選擇界面、試驗參數(shù)選擇界面、試驗操作及結果顯示界面和曲線顯示界面,并可實時顯示各參數(shù)曲線,便于試驗數(shù)據(jù)分析,過程監(jiān)控。
4、可實現(xiàn)試樣裝夾時橫梁快慢升降調整,具有過流、過壓、過載等保護裝置。
5、配置打印機,可直接實現(xiàn)試驗過程的控制及數(shù)據(jù)的存儲、打印。
開關機注意事項:
1開機時主機和計算機的開機順序會影響計算機的通訊初始化設置,所以務必請用戶嚴格按照上述開機順序進行。
2每次開機后要預熱5分鐘,待系統(tǒng)穩(wěn)定后,才可進行試驗工作。
3如果剛剛開機,需要再開機,至少保證1分鐘的間隔時間。
4在更換夾具后,首先要注意調整好可調擋圈(上下限位開關)。
5尤其在用小力值傳感器做試驗時,一定要調整好可調擋圈的位置,以免操作失誤而損壞小力值傳感器。不要超過傳感器的額定量程。
6任何時候都不能帶電插撥電源線,否則很容易損壞電氣控制部分。
7試驗過程中,不能遠離試驗機。
8試驗過程中,除停止按鍵和急停開關外,不要按控制盒上的其它按鍵,否則會影響試驗。
9試驗結束后,一定要關閉所有電源。
10本計算機是專門用于試驗機控制和數(shù)據(jù)處理的,請勿在計算機內安裝其它應用軟件,以免試驗機應用軟件不能正常運行。
11計算機要嚴格按照系統(tǒng)要求一步一步退出,正常關機,否則會損壞部分程序,導致軟件無法正常使用。
12不要使用來歷不明或與本機無關的軟盤在試驗機控制用計算機上寫盤或讀盤,以免病毒感染。
It can conduct tensile, compressive, bending, tearing, 90 ? peeling, 180 ? peeling, shear, adhesive force, pull-out force, elongation at extension and other tests on rubber, plastic, non-woven fabric, textile, nylon, fiber, nanomaterials, polymer materials, polymer materials, polymer materials, composite materials, packaging tapes, paper, wires and cables, fiber optic cables, seat belts, safety belts, leather belts, shoes, tapes, polymers, spring steel, bearing steel, stainless steel (and other high hardness steels), castings, steel plates, steel strips, non-ferrous metals, automotive parts, alloy materials and other non-metallic and metallic materials.
Main technical indicators:
Number Project Parameters
1. Maximum test force 0-300KN
2 Accuracy Level 1
3. The allowable error limit of the test force indication is within ? 1% of the indication value
4 Load measurement range 2% to 100% FS of full scale
5. Resolution of test force indication: 1/200000 of the maximum test force
6 Deformation measurement range 2-100% FS
Within ? 0.5% of the maximum error limit of 7 deformation readings
1/200000 of the maximum deformation resolution of 8 deformations
Within ? 0.5% of the displacement indication limit error
10 displacement resolution 0.01mm
When the adjustment accuracy rate of 11 constant displacement control is less than 0.1% FS, it is within ? 2% of the set value; When the rate is greater than 0.1% FS, it is within the set value of ? 0.5%/? 1%
12 displacement speed adjustment range 0.05-300mm/min
When the displacement rate control accuracy is less than 1mm/min, it should be within ? 1% of the set value. When the rate is ≥ 1mm/min, it should be within ? 0.5% of the set value
14 Effective Stretching Space Distance 700mm
The external dimensions of the 15 device host are length x width x height=850 x 650 x 1900 (mm)
16 Software and User Interface: Software and Interactive Human Computer Dialogue Operating Interface in WINDOWSXP Operating Environment
17 power supply, power 220V, 50Hz, 1000W
18 weight 150KG
form
The universal material testing machine is composed of a measurement system, a drive system, a control system, and a computer (computer system type tensile testing machine).
One Measurement system
1. Measurement of force value
2. Measurement of deformation
3. Measurement of transverse beam displacement
Drive system
It is mainly used for the movement of the crossbeam of the testing machine, and its working principle is controlled by a servo system to drive the motor. The motor drives the screw to rotate through a series of transmission mechanisms such as a gearbox, thus achieving the purpose of controlling the movement of the crossbeam. By changing the speed of the motor, the movement speed of the crossbeam can be altered.
III Control system
As the name suggests, it is a system that controls the operation of a testing machine. People can control the operation of the testing machine through the operation console, and the status and various test parameters of the testing machine can be obtained through the display screen. If the machine is equipped with a computer, it can also achieve various functions and perform data processing, analysis, and printing of test results. The communication between the testing machine and the computer is generally done using RS232 serial communication, which communicates through the serial port (COM number) behind the computer. This technology is relatively mature, reliable, and easy to use.
4 Computer
Used to collect and analyze data, after entering the experimental interface, the computer will continuously collect various experimental data, draw real-time experimental curves, automatically calculate various experimental parameters and output reports.
Equipment features
1. Using high-precision, fully digital speed regulation system and precision reduction system, the precision screw pair is driven for testing, achieving large-scale adjustment of testing speed, low noise and smooth operation during the testing process.
2. The universal joint cross pin structure can be used, which is convenient for sample clamping, ensures the concentricity of the test, and effectively eliminates the influence of irregular samples on the sensor.
3. The Windows operating system has a user-friendly interface that can display test method selection interface, test parameter selection interface, test operation and result display interface, and curve display interface. It can also display real-time parameter curves for easy analysis of test data and process monitoring.
4. It can adjust the fast and slow lifting of the crossbeam during sample clamping, and has protective devices for overcurrent, overvoltage, overload, etc.
5. Configure the printer to directly control the experimental process and store and print data.
Precautions for power on/off:
The startup sequence of the host and computer during startup will affect the communication initialization settings of the computer, so users must strictly follow the above startup sequence.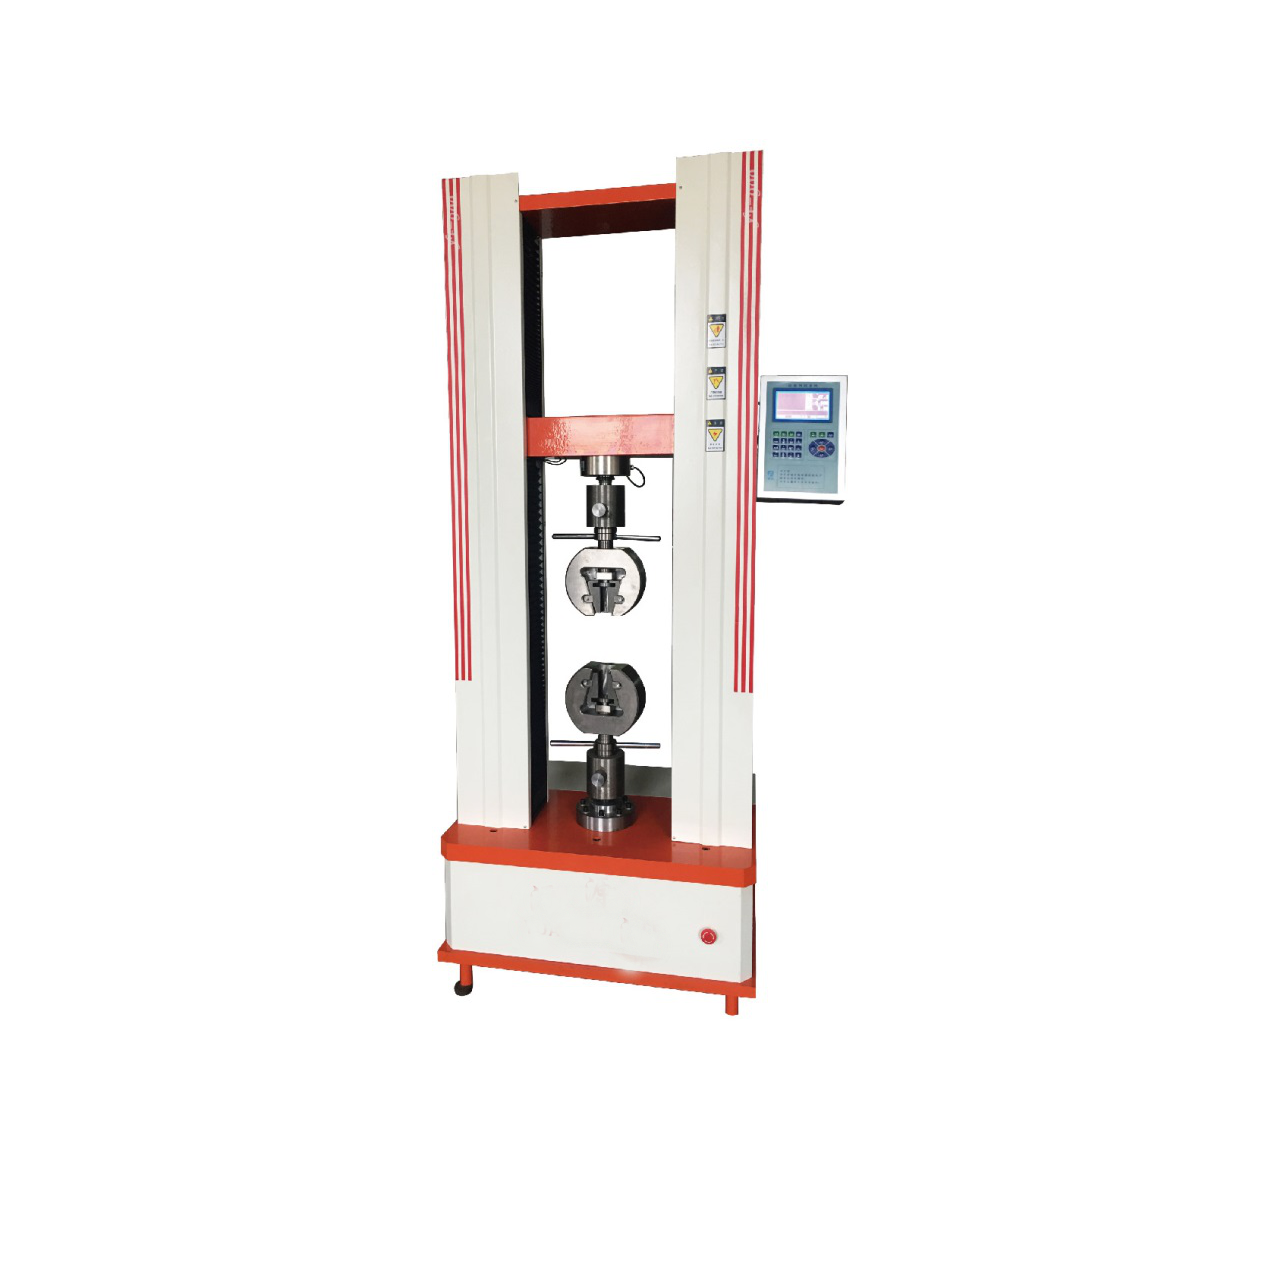
After each startup, preheat for 5 minutes until the system stabilizes before conducting the test work.
If it has just been turned on and needs to be restarted, ensure at least a 1-minute interval.
After replacing the fixture, first pay attention to adjusting the adjustable retaining ring (upper and lower limit switches).
Especially when conducting experiments with small force sensors, it is important to adjust the position of the adjustable retaining ring to avoid damaging the small force sensor due to operational errors. Do not exceed the rated range of the sensor.
Never plug or unplug the power cord with electricity at any time, otherwise it is easy to damage the electrical control part.
During the experiment, do not stay away from the testing machine.
During the experiment, except for the stop button and emergency stop switch, do not press any other buttons on the control box, otherwise it will affect the experiment.
After the experiment, be sure to turn off all power sources.
The 10 computers are specifically designed for control and data processing of the testing machine. Please do not install any other application software on the computer to prevent the testing machine application software from running properly.
Computers must strictly follow the system requirements to exit step by step and shut down normally, otherwise it may damage some programs and cause software to not function properly.
Do not use floppy disks of unknown origin or unrelated to this machine to write or read disks on the control computer of the testing machine, in order to avoid virus infection.
注意事項1、該儀器初始的包裝材料需小心保存,安裝需由本公司的專業(yè)技術人員進行操作。2、若儀器由于任何原因必須返修,必須將其裝入原紙箱中以防運輸途中損壞。3、在開機前,操作者要首先熟悉操作方法。
關于儀器質保:1、北廣儀器保證提供的設備為需方指定的全新設備,其各項技術指標均符合相關的產品技術要求。2、設備經客戶驗收合格后,開始計算保修期,設備免費保修期為壹年,設備在質量保質期內,產品在非人為損壞的情況下,由北廣儀器負責全保。北廣儀器的客服在得到通知后24小時內響應,安排約定維修細節(jié)。3、質保期后,我們免費為您維修維護設備,除大型設備外所有設備一律返廠維修,經檢驗后,電話告知客戶問題所在及解決方式,經客戶同意后進行維修,維修后發(fā)回客戶,對于損壞及更換的零部件我們只收取成本費;如客戶不認同我們的檢驗結果,雙方另協(xié)商維修細節(jié)。
業(yè)務咨詢:932174181 媒體合作:2279387437 24小時服務熱線:15136468001 盤古機械網(wǎng) - 全面、科學的機械行業(yè)免費發(fā)布信息網(wǎng)站 Copyright 2017 PGJXO.COM 豫ICP備12019803號